deb http://mirrors.aliyun.com/ubuntu/ bionic main restricted universe multiverse deb-src http://mirrors.aliyun.com/ubuntu/ bionic main restricted universe multiverse
deb http://mirrors.aliyun.com/ubuntu/ bionic-security main restricted universe multiverse deb-src http://mirrors.aliyun.com/ubuntu/ bionic-security main restricted universe multiverse
deb http://mirrors.aliyun.com/ubuntu/ bionic-updates main restricted universe multiverse deb-src http://mirrors.aliyun.com/ubuntu/ bionic-updates main restricted universe multiverse
deb http://mirrors.aliyun.com/ubuntu/ bionic-proposed main restricted universe multiverse deb-src http://mirrors.aliyun.com/ubuntu/ bionic-proposed main restricted universe multiverse
deb http://mirrors.aliyun.com/ubuntu/ bionic-backports main restricted universe multiverse deb-src http://mirrors.aliyun.com/ubuntu/ bionic-backports main restricted universe multiverse
然后apt-get update。
Ubuntu 18.04 配置静态IP
ubuntu18.04使用netplan设置网络,使用yaml配置文件。
1 2 3 4 5 6 7 8 9 10 11
niuxinli@niuxinli:~$ cat /etc/netplan/50-cloud-init.yaml # This file is generated from information provided by # the datasource. Changes to it will not persist across an instance. # To disable cloud-init's network configuration capabilities, write a file # /etc/cloud/cloud.cfg.d/99-disable-network-config.cfg with the following: # network: {config: disabled} network: ethernets: ens33: dhcp4: true version: 2
... # This will cause the set+update hostname module to not operate (if true) preserve_hostname: false ####改成true ...
Ubuntu 18.04 配置MySql
安装
1
sudo apt-get install mysql-server mysql-client
安装完成后会默认生成一个密码
1 2 3 4 5 6 7 8 9 10 11 12
niuxinli@niuxinli-linux:~$ sudo cat /etc/mysql/debian.cnf # Automatically generated for Debian scripts. DO NOT TOUCH! [client] host = localhost user = debian-sys-maint password = O1yxPU1wturMS0EI socket = /var/run/mysqld/mysqld.sock [mysql_upgrade] host = localhost user = debian-sys-maint password = O1yxPU1wturMS0EI socket = /var/run/mysqld/mysqld.sock
用这个用户名和密码登录,然后修改root密码为123456
1 2 3 4 5 6 7 8 9 10 11 12 13 14 15 16 17 18 19
niuxinli@niuxinli-linux:~$ mysql -u debian-sys-maint -p Enter password: Welcome to the MySQL monitor. Commands end with ; or \g. Your MySQL connection id is 6 Server version: 5.7.30-0ubuntu0.18.04.1 (Ubuntu)
Copyright (c) 2000, 2020, Oracle and/or its affiliates. All rights reserved.
Oracle is a registered trademark of Oracle Corporation and/or its affiliates. Other names may be trademarks of their respective owners.
Type 'help;' or '\h' for help. Type '\c' to clear the current input statement.
mysql> use mysql; mysql> update mysql.user set authentication_string=password('123456') where user='root' and Host ='localhost'; mysql> update user set plugin="mysql_native_password"; mysql> flush privileges; mysql> quit;
重启mysql
1
sudo service mysql restart
利用root登录,然后创建一个普通用户
1 2 3 4 5 6 7 8 9 10 11 12 13 14 15 16 17
niuxinli@niuxinli-linux:~$ mysql -u root -p Enter password: Welcome to the MySQL monitor. Commands end with ; or \g. Your MySQL connection id is 2 Server version: 5.7.30-0ubuntu0.18.04.1 (Ubuntu)
Copyright (c) 2000, 2020, Oracle and/or its affiliates. All rights reserved.
Oracle is a registered trademark of Oracle Corporation and/or its affiliates. Other names may be trademarks of their respective owners.
Type 'help;' or '\h' for help. Type '\c' to clear the current input statement.
mysql> create user niuxinli identified by '123456'; mysql> grant all on niuxinli.* to 'niuxinli'@'%'; mysql> flush privileges;
允许远程连接
1
niuxinli@niuxinli-linux:~$ sudo vi /etc/mysql/mysql.conf.d/mysqld.cnf
把下面这句注释掉
1
#bind-address = 127.0.0.1
重启。
Ubuntu 18.04 安装RabbitMQ
安装,查看状态
1 2
sudo apt-get install rabbitmq-server sudo rabbitmqctl status
添加账户并赋予权限
1 2 3 4 5 6
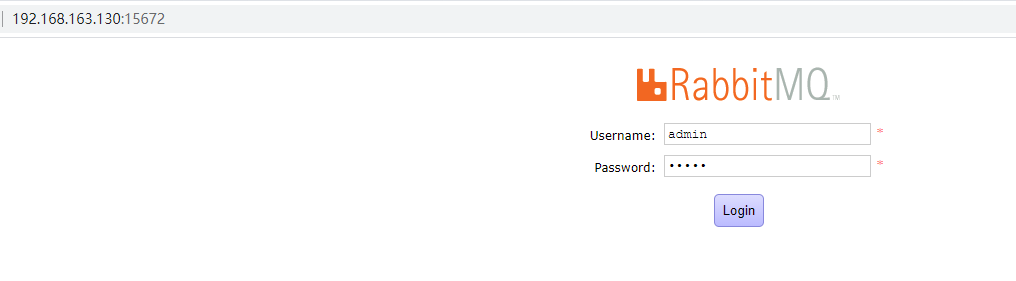
niuxinli@niuxinli-linux:~$ sudo rabbitmqctl add_user admin admin Creating user "admin" niuxinli@niuxinli-linux:~$ sudo rabbitmqctl set_user_tags admin administrator Setting tags for user "admin" to [administrator] niuxinli@niuxinli-linux:~$ sudo rabbitmqctl set_permissions -p / admin '.*' '.*' '.*' Setting permissions for user "admin" in vhost "/"
启动web管理界面,需要先到/etc/rabbitmq/下
1 2 3 4 5 6 7 8 9 10 11
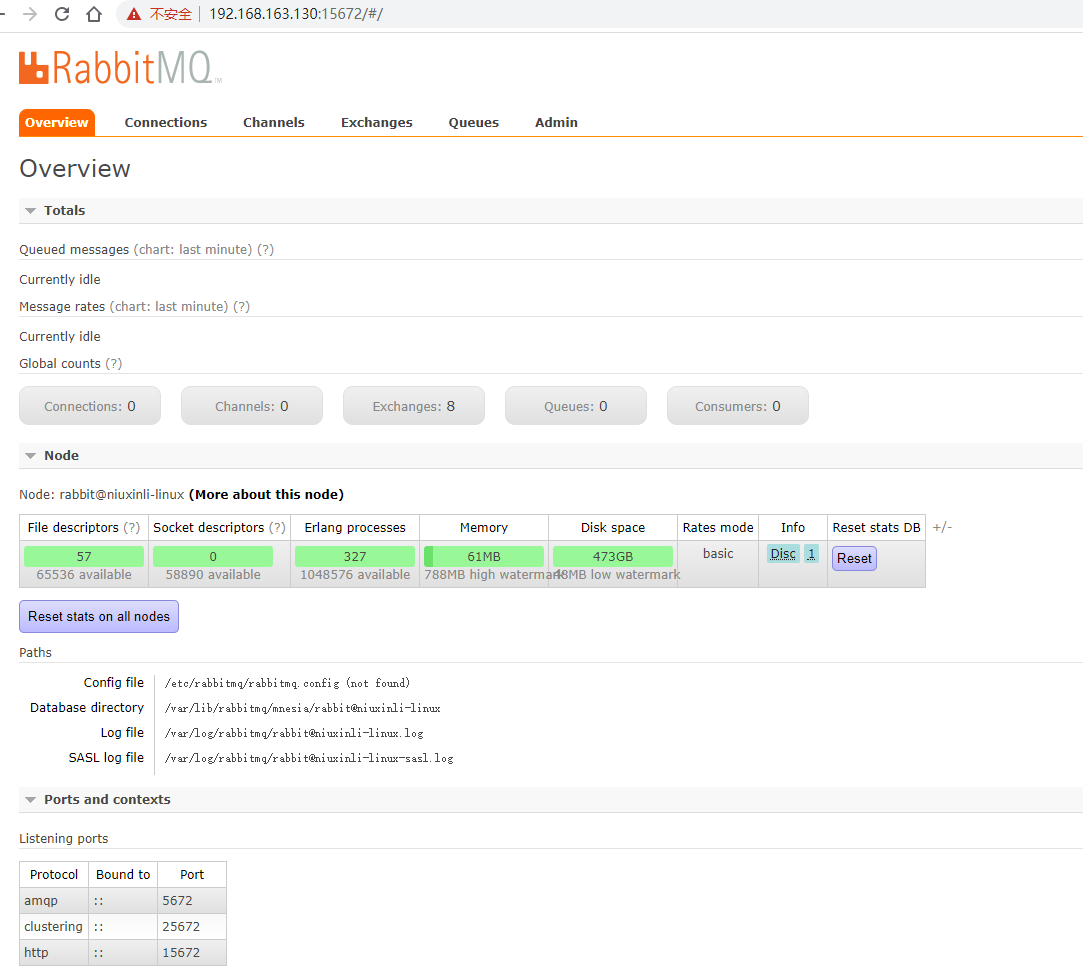
niuxinli@niuxinli-linux:~$ cd /etc/rabbitmq/
niuxinli@niuxinli-linux:/etc/rabbitmq$ sudo  rabbitmq-plugins enable rabbitmq_management
The following plugins have been enabled:
  amqp_client
  cowlib
  cowboy
  rabbitmq_web_dispatch
  rabbitmq_management_agent
  rabbitmq_management

Applying plugin configuration to rabbit@niuxinli-linux... started 6 plugins.
打开页面
Maybe you could buy me a cup of coffee.
Scan this qrcode
Open alipay app scan this qrcode, buy me a coffee!
Scan this qrcode
Open wechat app scan this qrcode, buy me a coffee!